Install Pip On Rhel 8
Today, we are going to discuss how to install PIP on Windows 10 and how to use PIP for Mac. By the end of this post, you’ll have a clear understanding of what PIP is, its benefits, preparation steps, installation process, and everything else you need to know.
What is PIP?
PIP stands for “Python Package Index,” and it is a tool that allows you to install and manage different Python packages from the internet. It is one of the most popular Python package managers available today, and it makes it easy to install, upgrade, and remove third-party Python packages within your Python environment.
What are the Benefits of using PIP?
Now that we’ve got a brief idea of what PIP is, let’s talk about the benefits of using PIP:
- You can install and manage different Python packages with PIP, which can save you a lot of time and effort when working with Python code.
- PIP makes it easy to keep your Python packages up-to-date, as new versions of packages are released regularly.
- PIP allows you to install Python packages from external sources, which expands the capabilities of your Python projects.
- PIP provides an easy way to manage dependencies in your Python projects, allowing you to ensure that all the required packages are installed and up-to-date.
Preparation
Before we get started with the installation process, here are a few things you need to prepare:
- Make sure you have Python installed on your computer. You can check this by opening the Command Prompt on Windows or the Terminal on Mac and running the command
python --version. If you receive a version number, Python is already installed. Otherwise, you can download the latest version from the official Python website. - Make sure you have access to the internet, as PIP needs an internet connection to download and install packages.
Installation
Windows 10
If you’re running Windows 10, follow these steps to install PIP:
- Open the Command Prompt by clicking on the Start menu and typing “Command Prompt” into the search bar. Click on the Command Prompt application to open it.
- Once the Command Prompt is open, type the following command and press Enter:
python get-pip.py - The installation process will begin, and PIP will be installed on your computer. You may need to restart your computer for the changes to take effect.
- Once the process is complete, you can test that PIP is installed by typing the following command into the Command Prompt:
pip --version
Mac
If you’re running Mac, follow these steps to install PIP:
- Open the Terminal by clicking on the Spotlight icon and typing “Terminal” into the search bar. Click on the Terminal application to open it.
- Once the Terminal is open, type the following command and press Enter:
curl https://bootstrap.pypa.io/get-pip.py -o get-pip.py - The installation process will begin, and PIP will be installed on your computer. You may need to enter your password to allow the installation process to complete.
- Once the process is complete, you can test that PIP is installed by typing the following command into the Terminal:
pip --version
Conclusion
Now that you know how to install PIP on Windows 10 and Mac, you can start using it to manage your Python packages. Remember to always keep your packages up-to-date and to use PIP to manage dependencies in your projects. With PIP, you can save a lot of time and effort when working with Python, so give it a try today and see how it can benefit your projects.
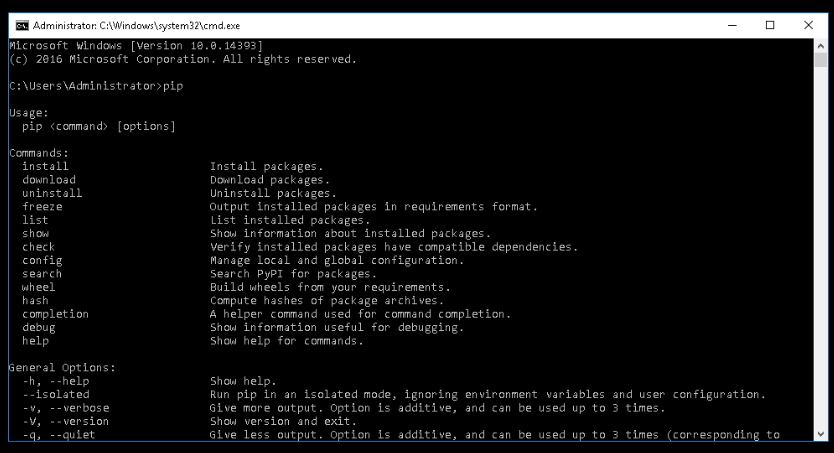
PIP Installation on Windows 10
Here is a screenshot of the PIP installation process on Windows 10:

PIP Installation on Mac
Here is a screenshot of the PIP installation process on Mac:
Thank you for reading this post. We hope you found it helpful and informative. If you have any questions or comments, please feel free to leave them below.
If you are searching about How to Install PIP on Windows 10 you've visit to the right page. We have 3 Images about How to Install PIP on Windows 10 like Installing Pelican on Raspberry Pi, How to Install PIP on Windows 10 and also How to Install PIP on Windows 10. Here you go:
Installing Pelican On Raspberry Pi
 mygeekdaddy.net
pip pi install sudo installing raspberry pelican installed verify installation everything complete after
Pip Install Python 3 Mac - Bettaplaza
bettaplaza.weebly.com
Pip pi install sudo installing raspberry pelican installed verify installation everything complete after. Installing pelican on raspberry pi. How to install pip on windows 10
Related post:
👉 How To Install Python Windows 11
👉 How To Install Pip Cv2
👉 How To Install Pip Jupyter Notebook
👉 How To Install Npm Bcrypt
👉 How To Install Npm Cli
👉 How To Install Python With Npm
👉 How To Install Npm In Windows 11
👉 How To Install Windows 10 From Usb From Bios
👉 How To Install Windows 10 By Command Prompt
Belum ada Komentar untuk "Install Pip On Rhel 8"
Posting Komentar